12 Weeks of Inspiration Starts Today, !
Published: Tue, 10/02/18
STAMPIN' SAVVY NEWSLETTER
Happy creative day, ! Can I just say "I appreciate you!" If you're new to my newsletter, thanks for subscribing. It's a wonderful thing having stampin' friends all across the
country and around the globe! Ready to get a jump-start on your holiday projects? I'm excited to introduce a new series called 'The 12 Weeks of Christmas'. Starting this week, I'll be including an exclusive holiday project tutorial in each weekly newsletter, just for YOU! Cards, tags, gift packaging and a few
surprises I think you'll like!
STAMPIN' SAVVY SPECIALS
THIS WEEK ONLY! Sale ends Saturday, Oct. 7th Select Card Kits (great for
gifts), Stamp Sets, Cardstock, Note Cards & Adhesives are 10% off Download the List HERE or click the image above to SHOP Sale Items
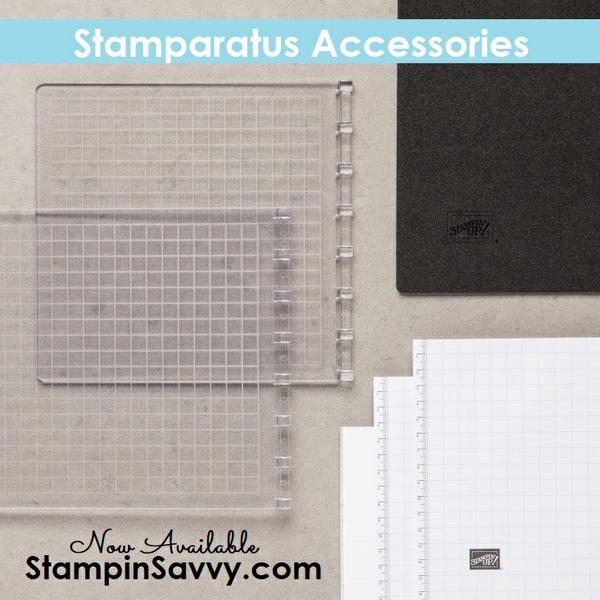
Stamparatus Accessories Now Available! Extra Hinge Plates, Foam Mat, Magnets and
NEW Grid Paper (my fave!) Find them HERE
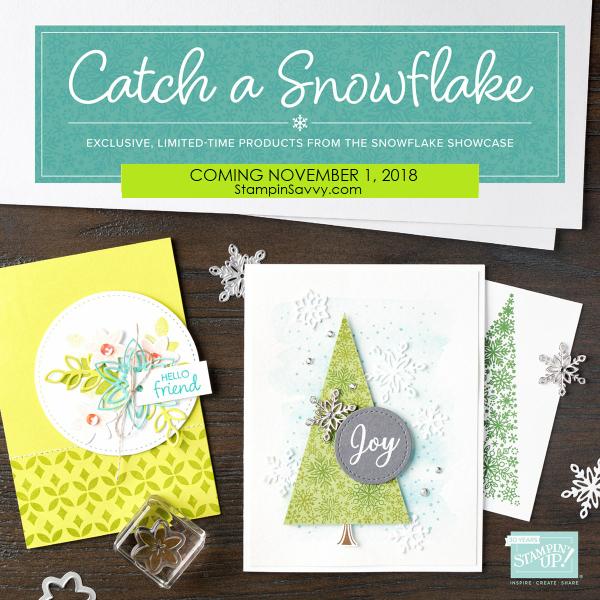
COMING SOON! Five new limited time products you are going to LOVE: Stamps, Framelits, Trinkets and Snow Paper... brrrrrrring on the frozen fun!:) Until then, take a peek at this showcase video from Stampin' Up! and plan to order November 1st!
PROJECT TUTORIAL
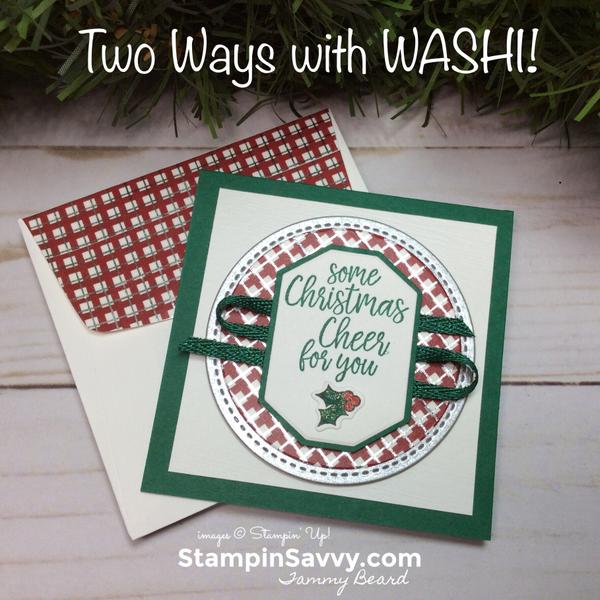
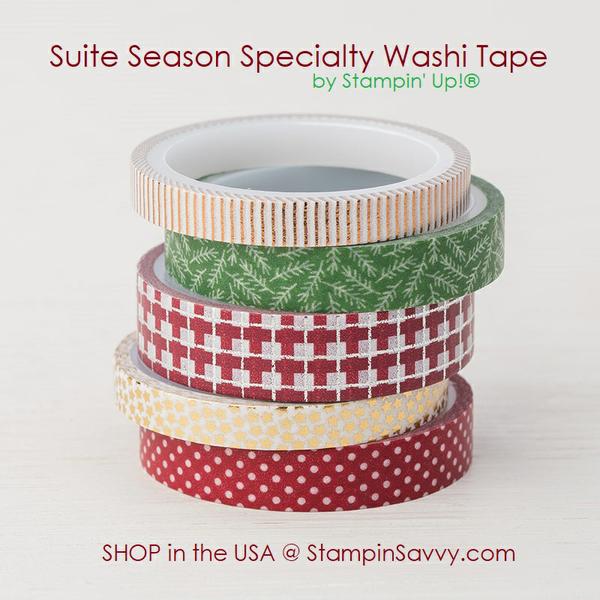
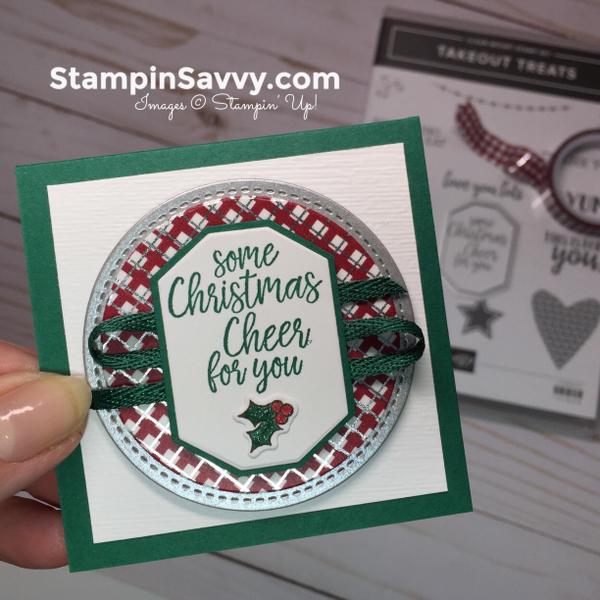
Recognize the washi tape in the card? Wondering what to do with washi tape?"
CHRISTMAS CHEER WASHI CARD TUTORIAL Mini cards are great to attach to gifts when a full-size greeting card isn't necessary. They're quick and easy to make, but have all the 'wow' of a larger card! SUPPLY LIST: Stamp
Sets: *purchase this with the coordinating Takeout Thinlits Dies as a BUNDLE and save 10%! Ink: Paper: Shaded Spruce Cardstock 3" x 6", 2" x 2-1/2" Galvanized Metallic
Paper 2-3/4" x 2-3/4" Whisper White Cardstock (2) 2-3/4" x 2-3/4", (1) 2-1/2" x 2-1/2" Accessories: Wink of Stella Glitter Brush (optional) Regals Collection Stampin' Write
Markers (Cherry Cobbler and Shaded Spruce) INSTRUCTIONS:
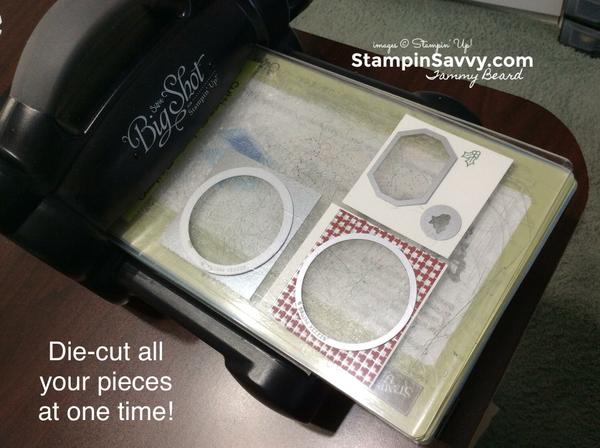
5. Die-cut the Galvanized Metallic Paper with the second to the largest circle from the Stitched Shapes Framelits
Die. 6. Emboss the remaining 2-3/4" square of WW c/s in the Subtle D-TIEF on the Big Shot. 7. Adhere the die-cut sentiment to a piece of Shaded Spruce Cardstock and trim, leaving a small border all around. Turn over and apply adhesive to the back,
use it to secure the ribbon. 8. Assemble: Adhere embossed square to card front. Adhere washi-covered circle to metallic paper; adhere to card with Dimensionals. Attach sentiment with
Dimensionals. Stamp & sign the back. All done and ready to give! :) SAVVY TIPS
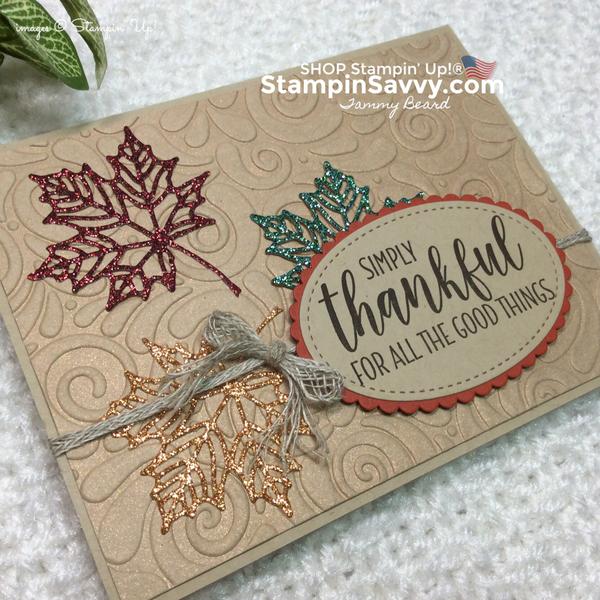
GLIMMER & SHIMMER FALL CARD
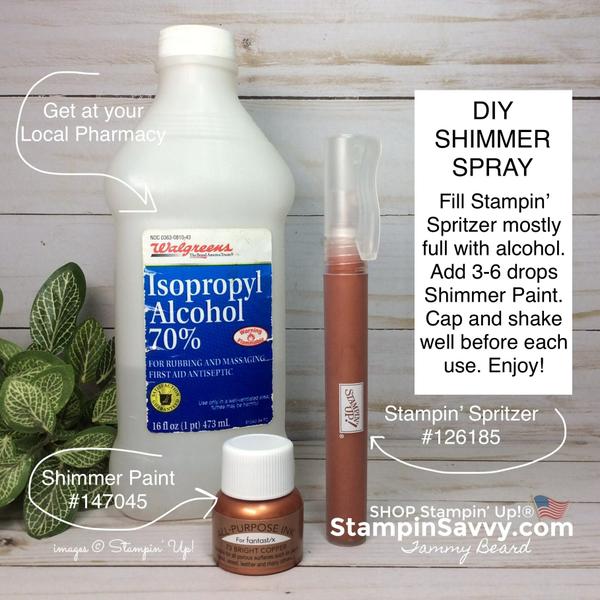
Post of the Week! If you missed the tutorial, click the photo above. FOR YOU: How to make the DIY Shimmer Spray with
the Bright Copper Shimmer Paint. Now you're in the know- see photo below!
There's four colors of Shimmer Paint available and several different ways to use them. Creating
cardstock that shimmers is just one; I'll be sharing more in the future! Add them to your holiday projects for gorgeous bling!
DIY SHIMMER SPRAY
|


|
|
|
|